|
So I decided to grab a broken keyboard and take it apart with the intention of making a new extra cover by spray painting
it. By the time I'd taken off all the keys and got ready to go i still didn't have a good idea of what I was going to do design-wise.
So I made it up a I went along. Lucky for you I took photos.
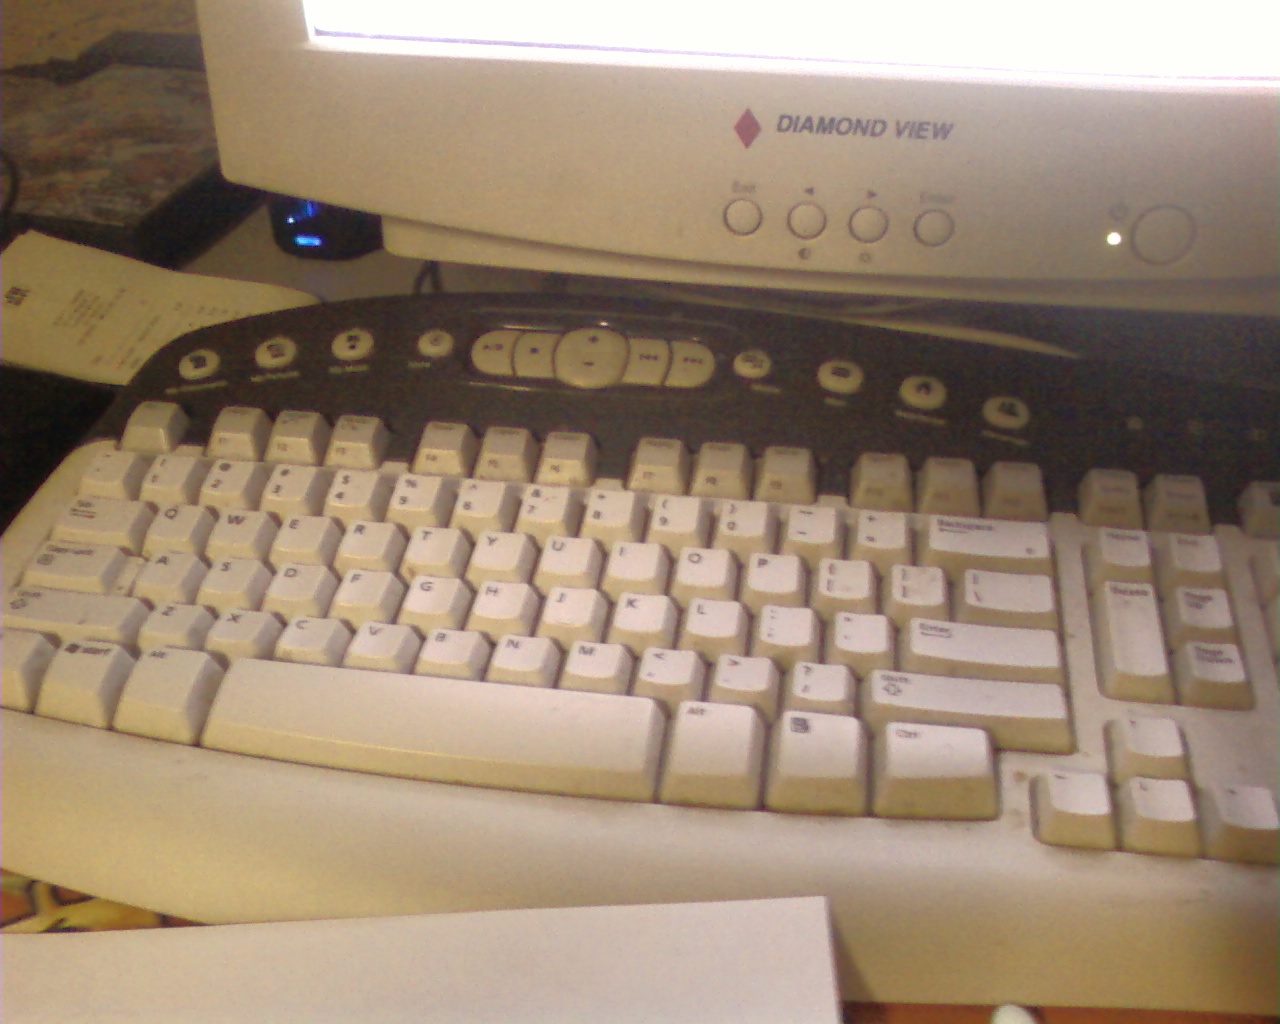
So this is my original, stock, lame keyboard. lots of keys and feels great and is very easy to use.
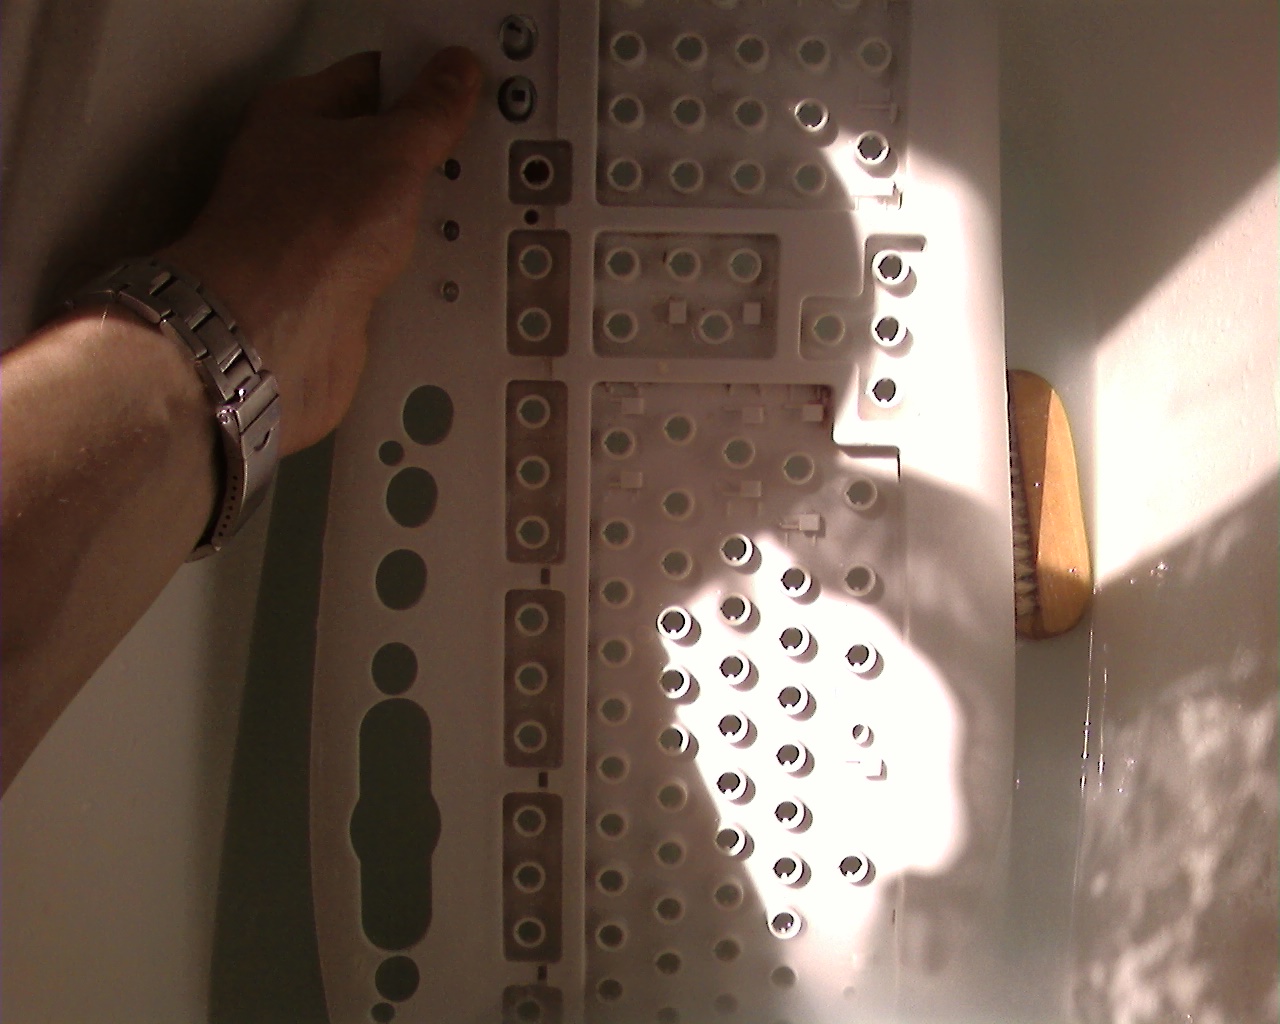
There was a lot of grubby shit underneath the keys and I had to scrub it to get it clean. leave it dry in the sun for 5mins
and we're ready to go.
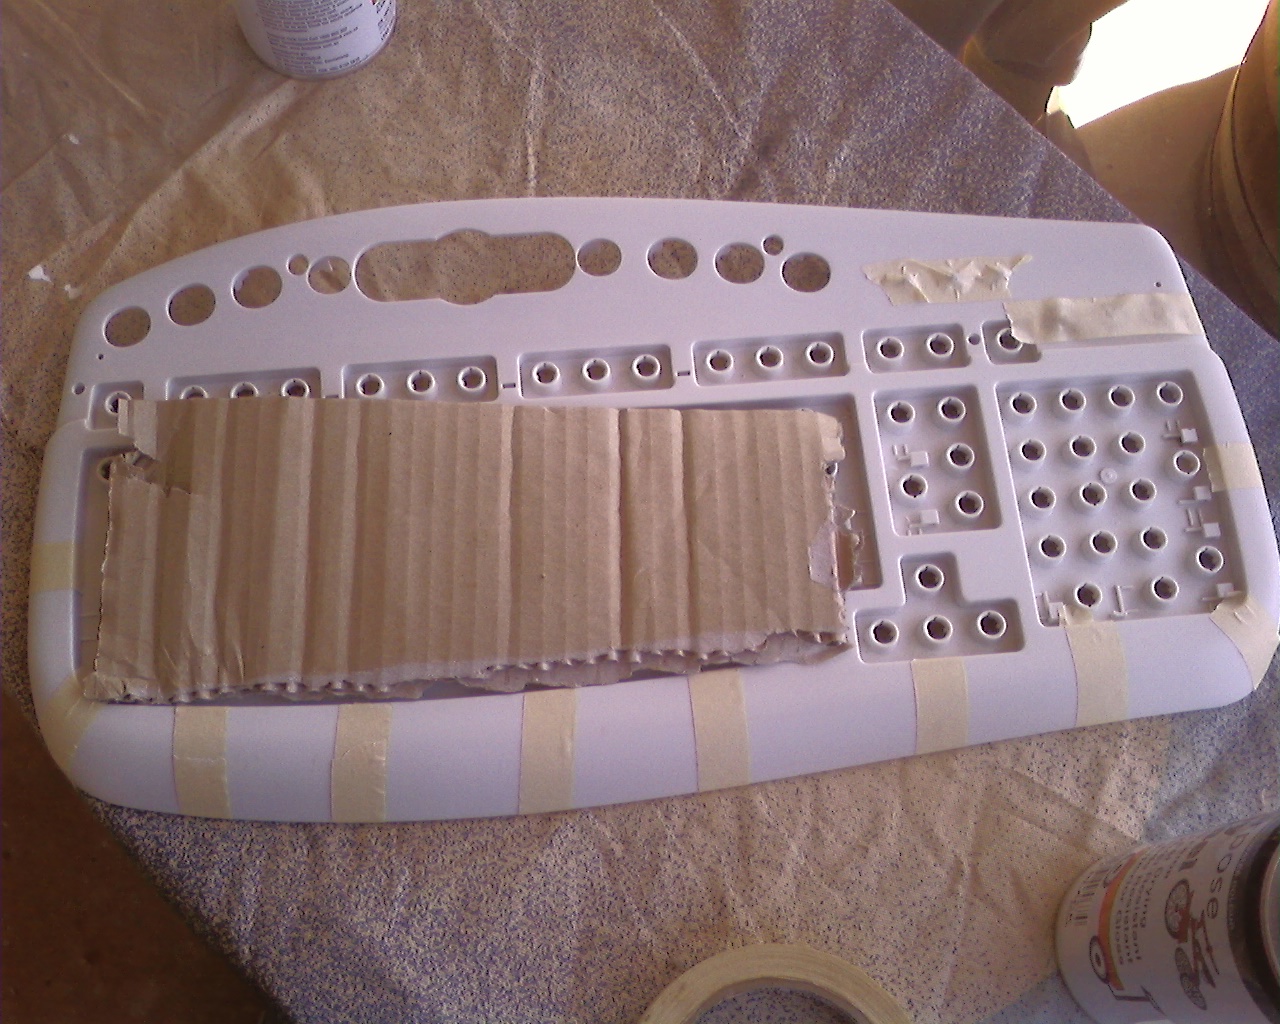
So I prepare the keyboard put some masking tape where i don't want black spray paint. As you can see on the top left of the
board I have covered a set of 3 keys that are attached in a way that makes them break if i try to get them off. The LED covers
are also covered because of the same problem.
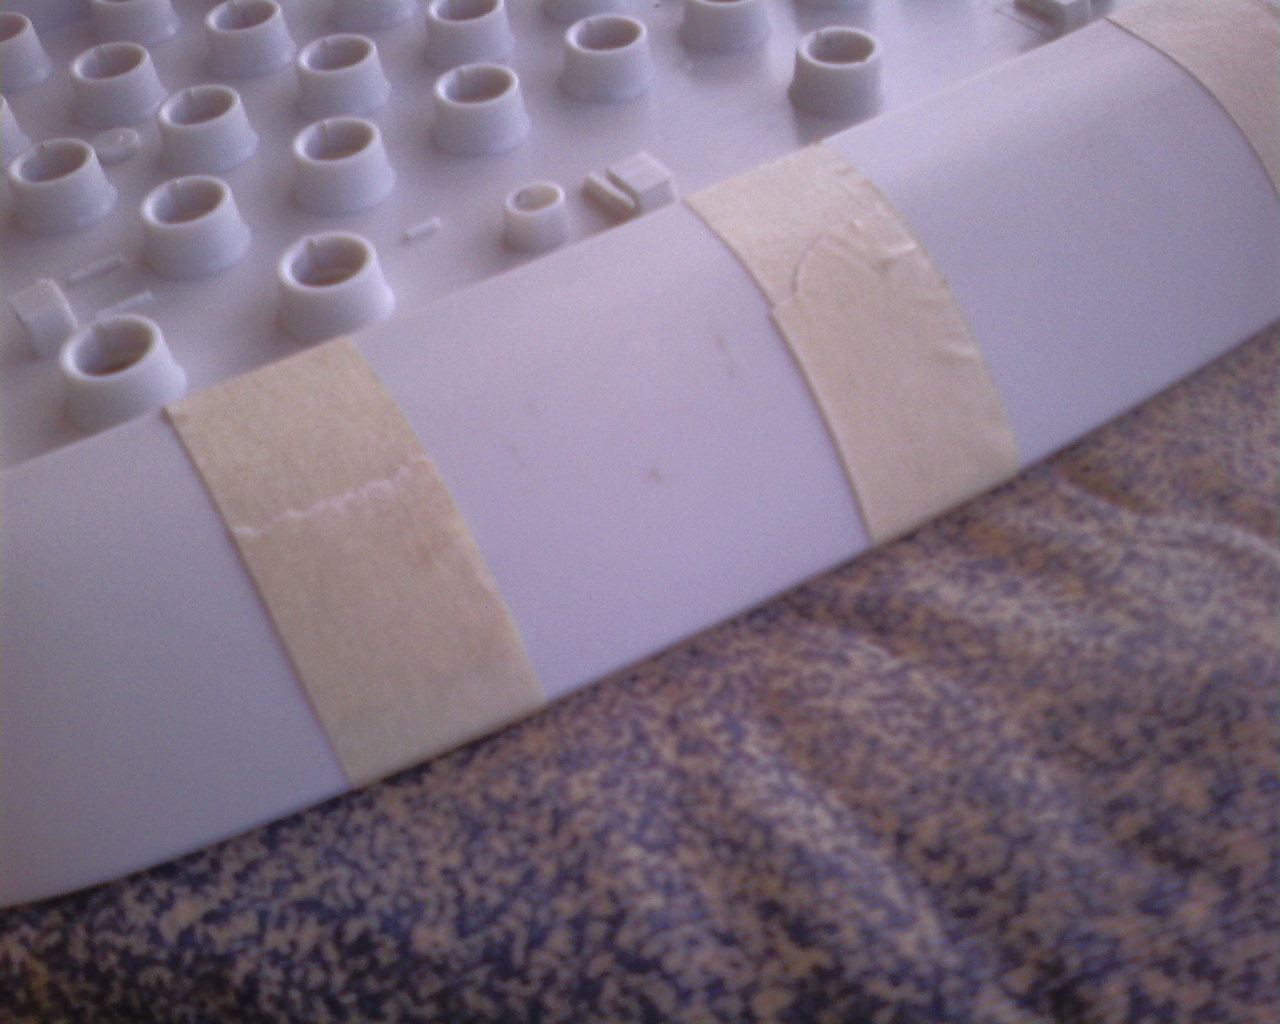
Then I spray it black and add speckled white spots by holding in the white spray can's nozzle a really little way and holding
the actual can about 20cm away from the boards surface.
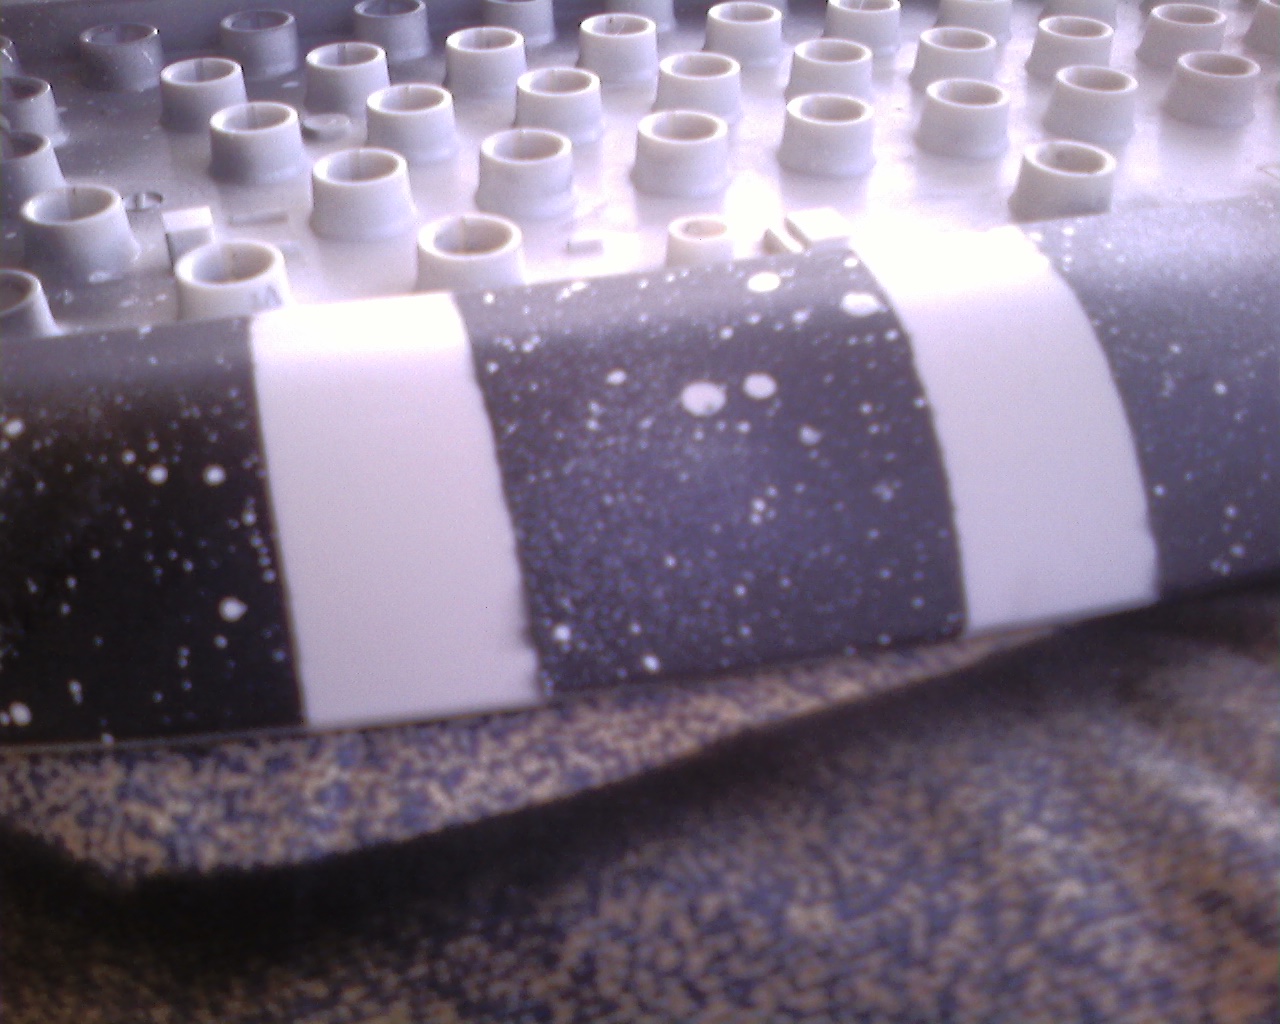
With the tape off you can see the good result.
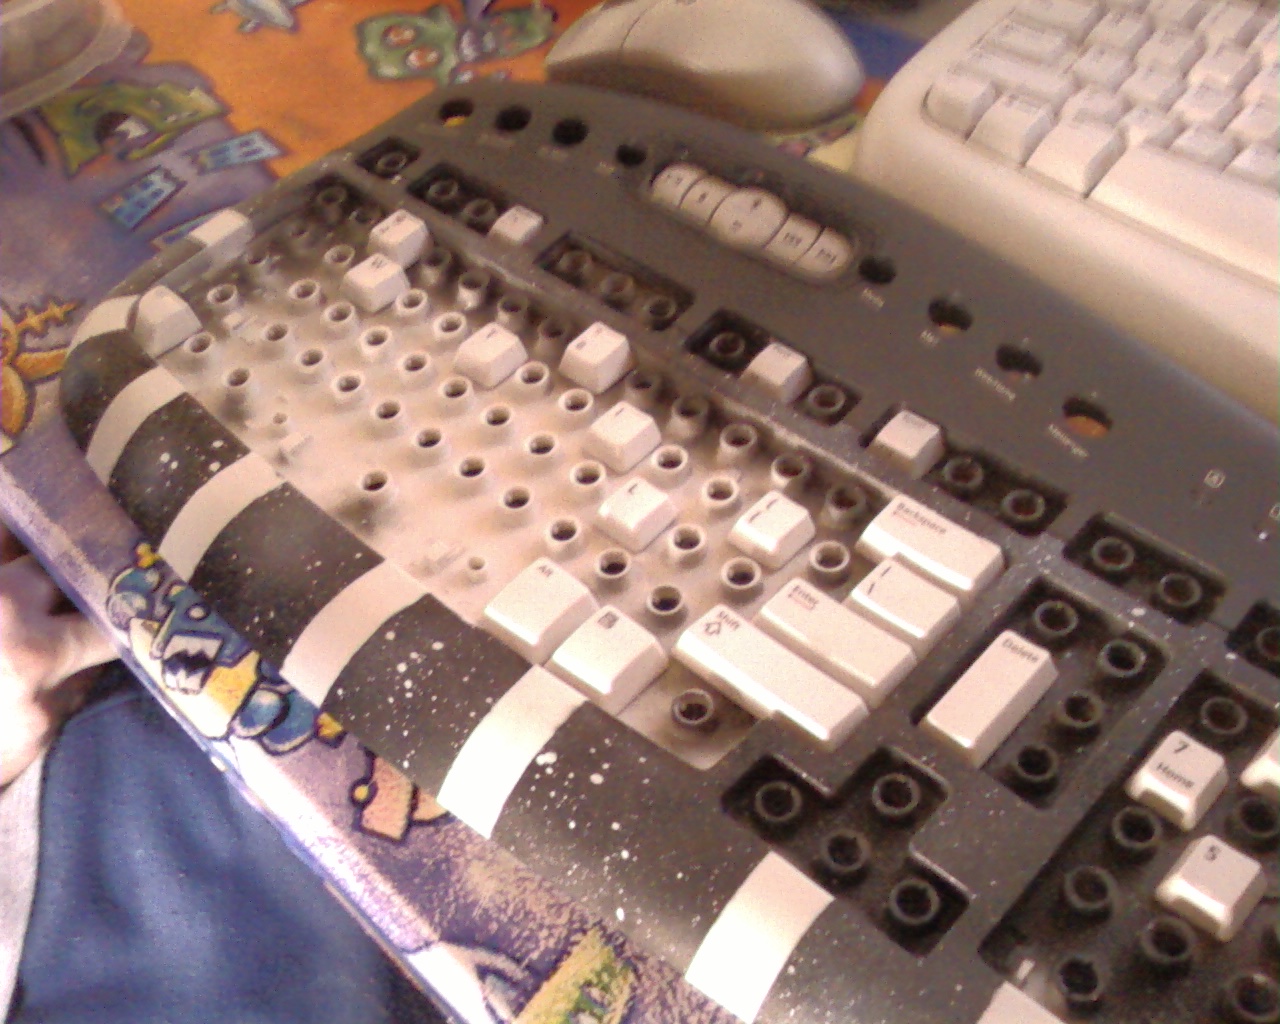
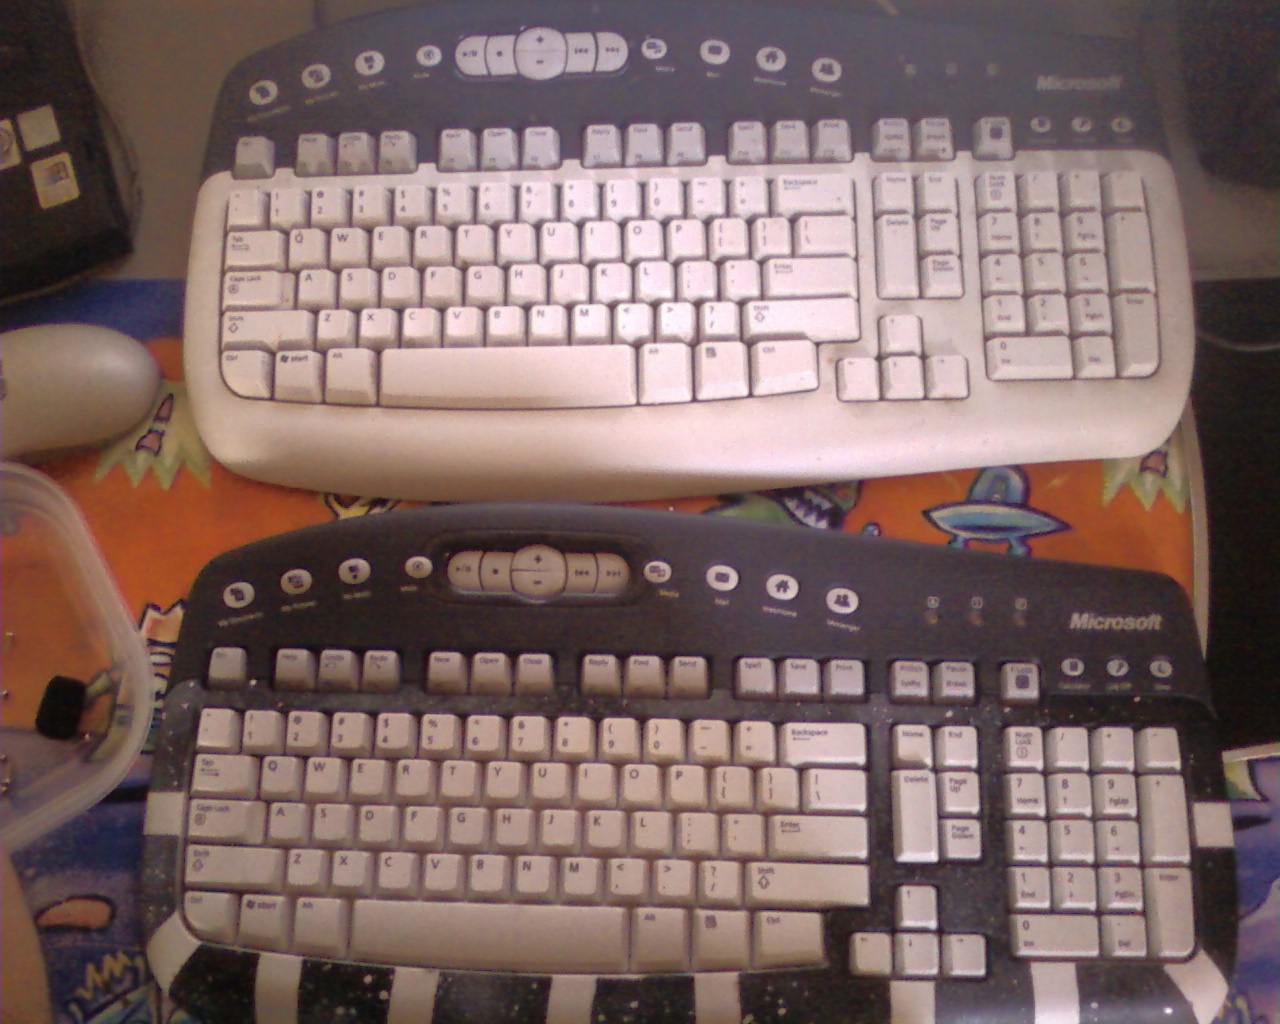
And here's the cover on comparison to the old one , much better looking for about a total of 20 minutes work.
It's a good idea to cover the key holes as the paint will make them a bit harder to press for a little while after, also be
sure to cover the LED covers and any keys that you can't remove. It'd suck to ruin a keyboard because of a loose paint job
or a blackened key or LED.
|
